DIY Boba plushie and keychain tutorial
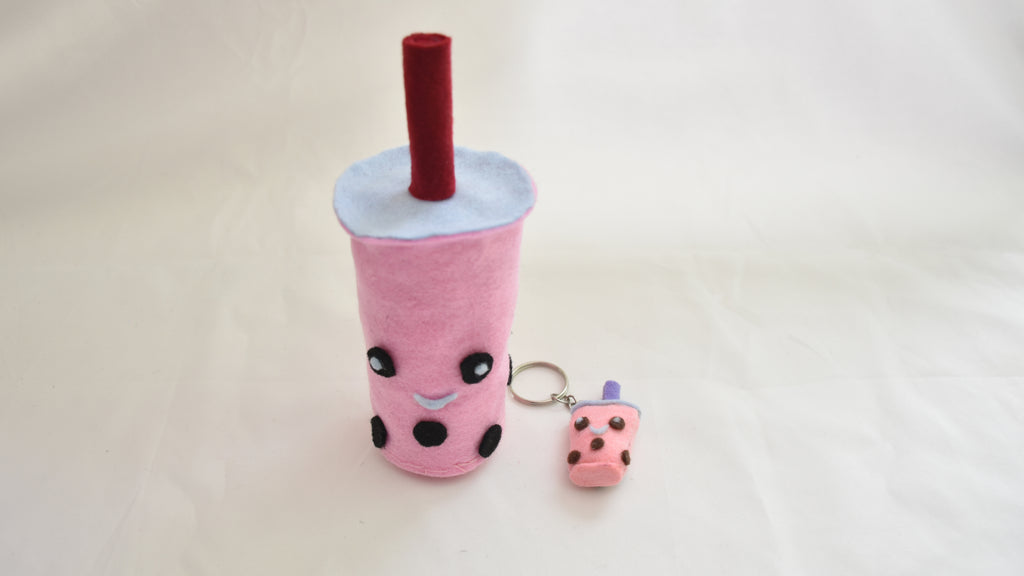
You may have tried making your favorite drink but have you tried making a boba plushie or boba plush keychain? This drink is non perishable and portable anywhere. It's fun and doesn't cost much to make for yourself or that friend who is obsessed with boba. Making a gift with your own hands is rewarding and gives you the freedom to customize it how you like. In this post, the plushies are strawberry and taro boba (pink and purple), but you can make them any flavor (color) you want and add jellies or other types of pearls.
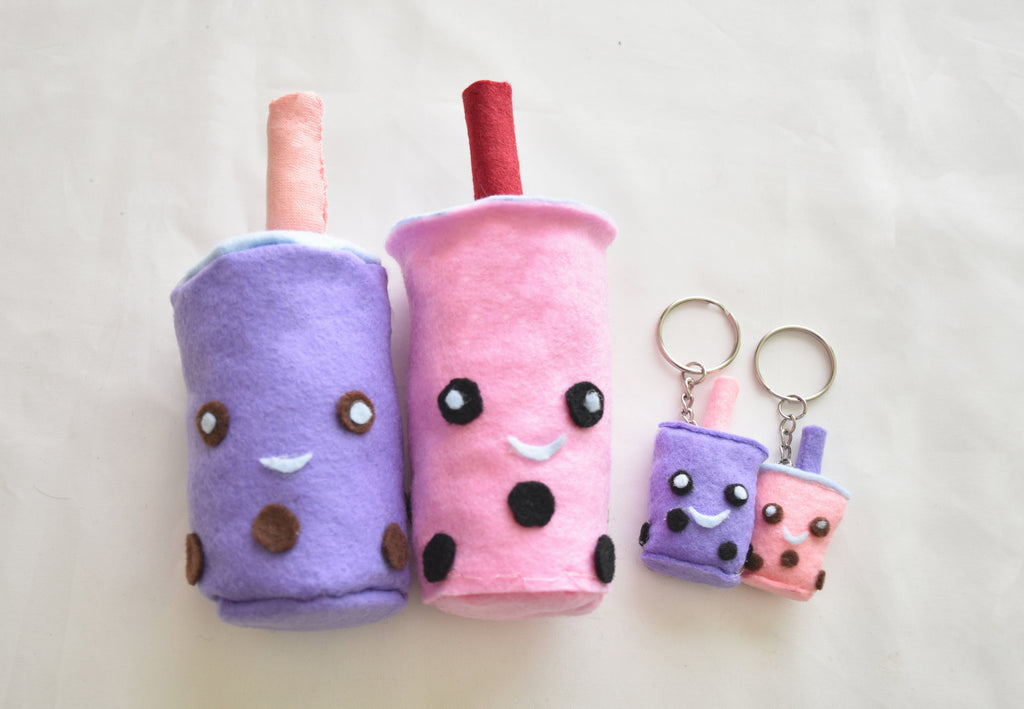
The plushie looks great on shelves and desks and is fun decor for a bedroom, office, or boba shop. The boba plush keychain is a nice accent to any backpack or purse.
Watch the videos or continue reading the steps on how to make them.
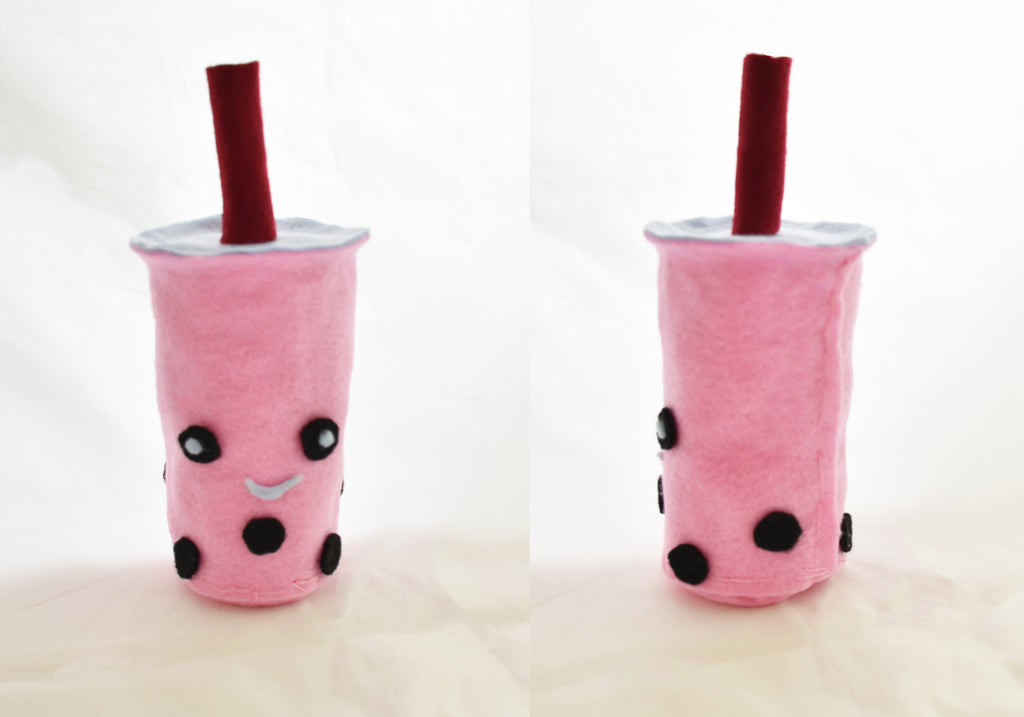
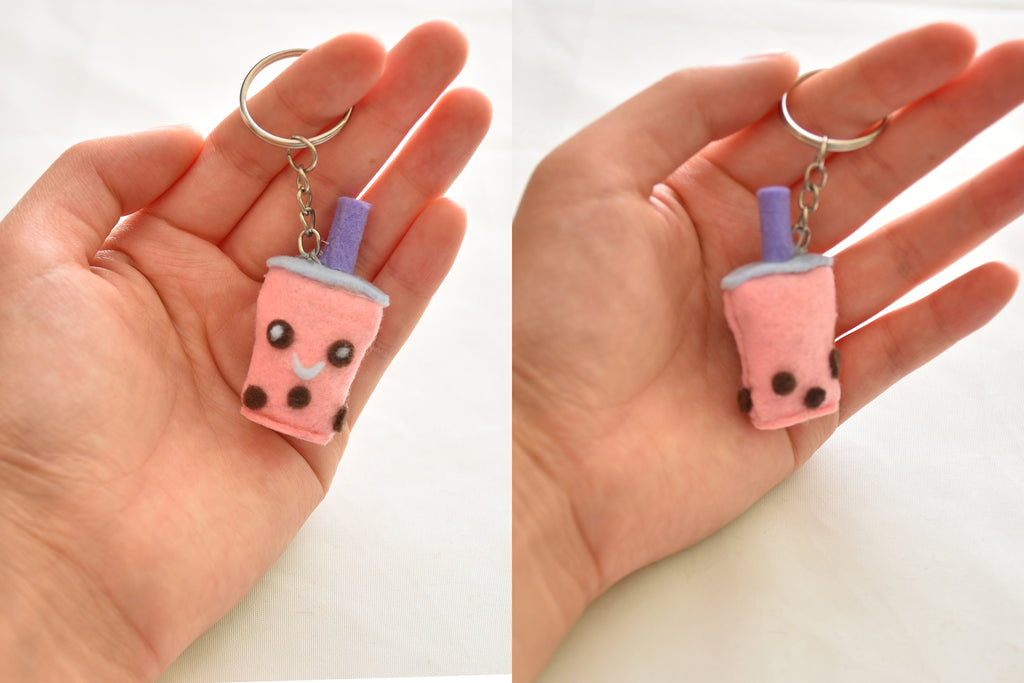
Making the boba plushie and boba keychain are very similar. For each of the photos, the left photo is the step for the plushie and the right photo is the step for the keychain.
First, start by cutting out the boba cup body. Choose a color of felt based on your favorite flavor of boba. The felt in this tutorial came in a pack from a Japanese dollar store, but you could buy small felt sheets from any department or craft store. You’ve probably noticed that most boba cups are slightly wider at the top than at the base, so keep that in mind when creating the shapes to cut out or when sewing. Also note that the shape you make before stuffing will be squashed down a bit after stuffing, so make everything a bit taller than you would envision. For the plushie, cut out the wall of the boba cup, which is just a rectangle rolled up, and for the keychain, mark up two of the same trapezoid.
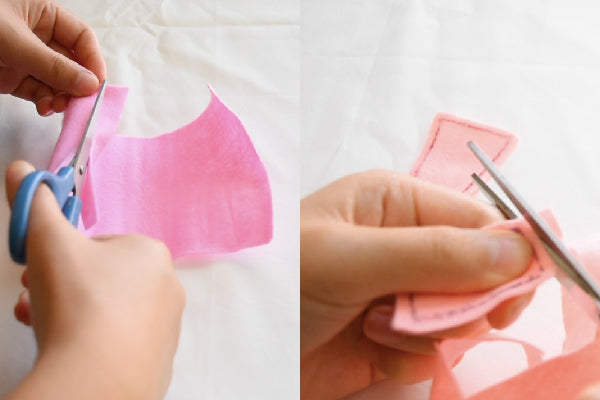
For the plushie, back-stitch up the edge of the wall so that you have a hollow, cylinder-like shape. For the keychain, make sure the shapes are cut out with a margin and that the marked sides are both facing outwards. Then start at one corner and backstitch along the markings until both sides have are covered in thread. Make sure you’ve tied a knot in your thread before starting!
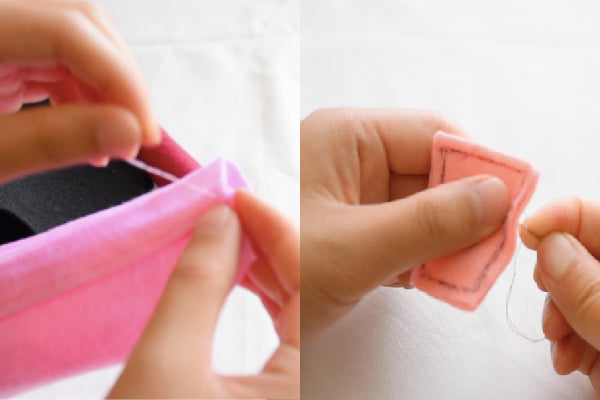
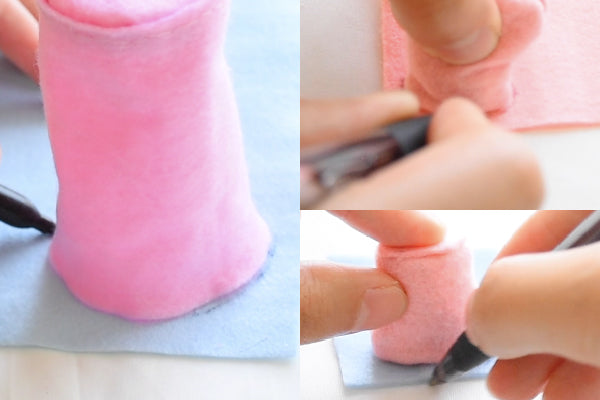
For the plushie, use the cylinder to trace out the bottom and top of the cup which will become the bottom and top lids. Cut it out with a margin and a begin backstitching it along the entire bottom. For the keychain, stop stitching the body before closing up the last edge to tie a knot and invert the pocket.
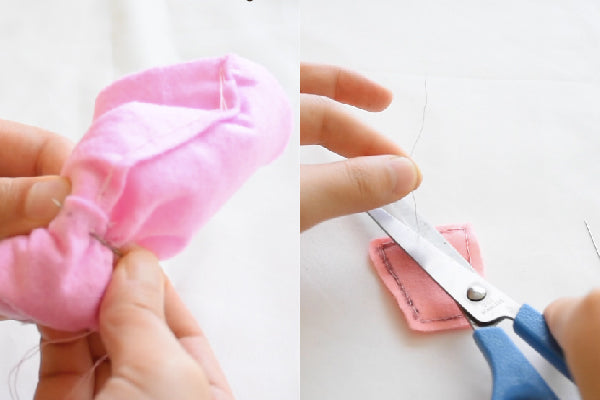
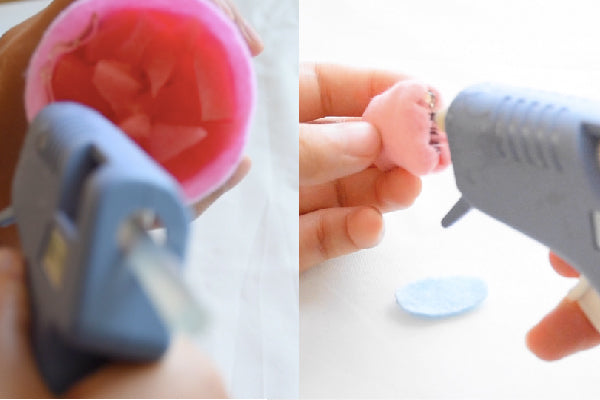
Invert the plushie cup (it should be very easy). For the keychain, since it’s smaller, it helps if u tug out the fabric from the opening and push from the other side with a rod or scissors. After inverting, fold and smooth out the edges before filling them with any soft stuffing.
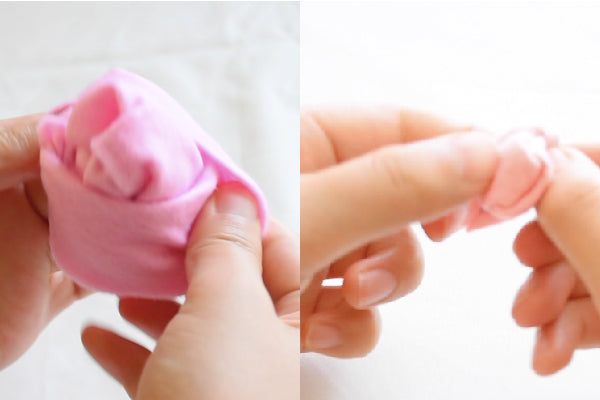
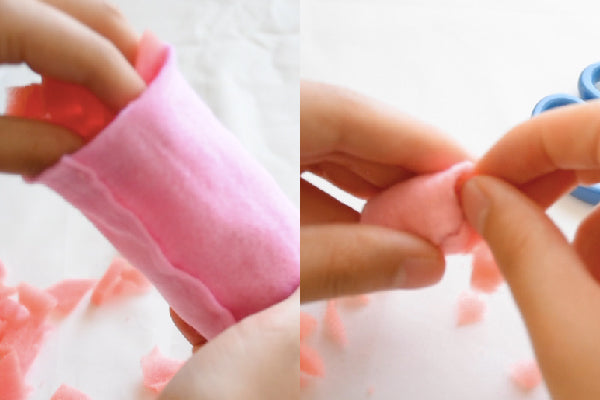
To make the top lid, hot glue or stitch the plushie lid to the cup top. For they keychain, stitch up the opening gap, and squash down the body onto a piece of felt. Trace the bottom and top of the squashed body and cut those pieces out.
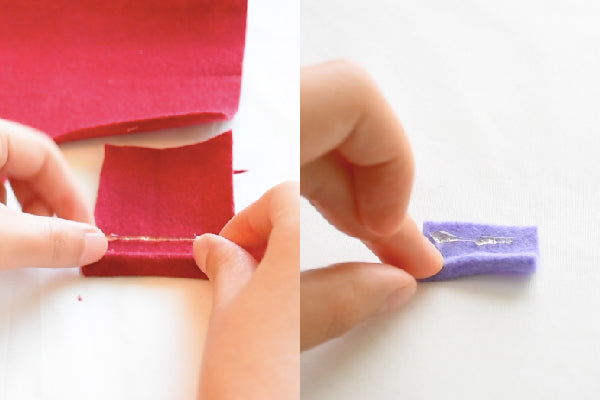
To make the boba straws, cut out a rectangle to a height that you like and roll it up until it’s the desired thickness. Then unroll it to add glue while rolling the felt back up. If it comes out a little uneven or too tall, trim it to length and to get a flat edge. Glue the little cylinders on to the top lids of the boba so that it becomes an adorable straw.
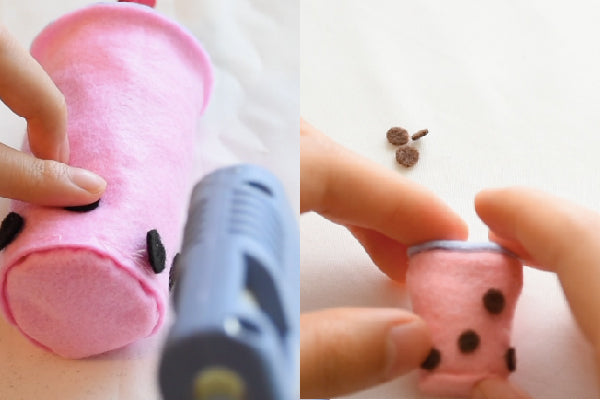
Now it’s time for the finishing touches! The body is complete but it’s not boba without pearls. You can cut out brown or black circles for tapioca pearls. If you don’t like tapioca pearls you could cut out other colors for popping pearls or rectangles for jellies. Glue these on with hot glue or fabric glue. You can also cut out small eye highlights and a small mouth if you want to make the design more character-like.
If you want your creation to be a piece of decor that sits on a shelf or desk, you don’t need this final step with the keychain. But if you want to attach it to a backpack or purse and carry it around, grab an empty keychain. You can take this off of an old keychain, buy them online, or buy them at a craft store. Stitch the last loop of the keychain through the cup lid and part of the straw a few times. When it feels secure, knot and trim the thread.
That’s how you make your favorite drink into a plushie and keychain! Hopefully these cute pictures have convinced you to try it out for yourself!
About the Author
Hi there, I'm Tracy, a DIY enthusiast! I love how boba is such an aesthetic, unique looking drink, and I thought it would be so cute in plushie or keychain form. I bought a pack of felt from the Japanese dollar store and started playing around with how I could make and customize my own boba plushie and keychain. After I figured them out, I gave them to friends as gifts and they loved it! They encouraged me to make a tutorial about how to make them so here it is. If you would like to see other DIY projects, you can see my Youtube channel


